be sure to check out this blog for a great give away and she has lots of wonderful creative ideas as well
http://keepsakesbymelissa.blogspot.com/
Tuesday, December 27, 2011
Thursday, November 10, 2011
recent drawings
thought i would post a few of my recent drawings. lately i have been mostly playing with colored pencils and markers. Something i can do while setting in my comfy recliner, with warm kitties in my lap.
 this one is just a line drawing of a girl i think her eyes are a bit off and she looks so sad but i kind of like her.
here is my purple princes i really like the way she came out
 and my alian basketball player
 not sure what this is alian or ant or maybe a cross but i think shes kind of cute

 last one for now hes not done yet I havn't decided what color im going to make him maybe tan or blue
 this one is just a line drawing of a girl i think her eyes are a bit off and she looks so sad but i kind of like her.
here is my purple princes i really like the way she came out


Saturday, October 29, 2011

Saturday, September 03, 2011
Tea anyone


Tuesday, August 23, 2011

random drawings
just some random drawing from my art journal mostly playing with colored penciles and black ink pen

 want a drink

 sea of faces


not again

 batty
batty

 drawing of an amulet bag that i made for myself
something i where when i need inspiration my first try at drawing a
nude image


not again


something i where when i need inspiration my first try at drawing a
nude image
some pages from my most recent art journal

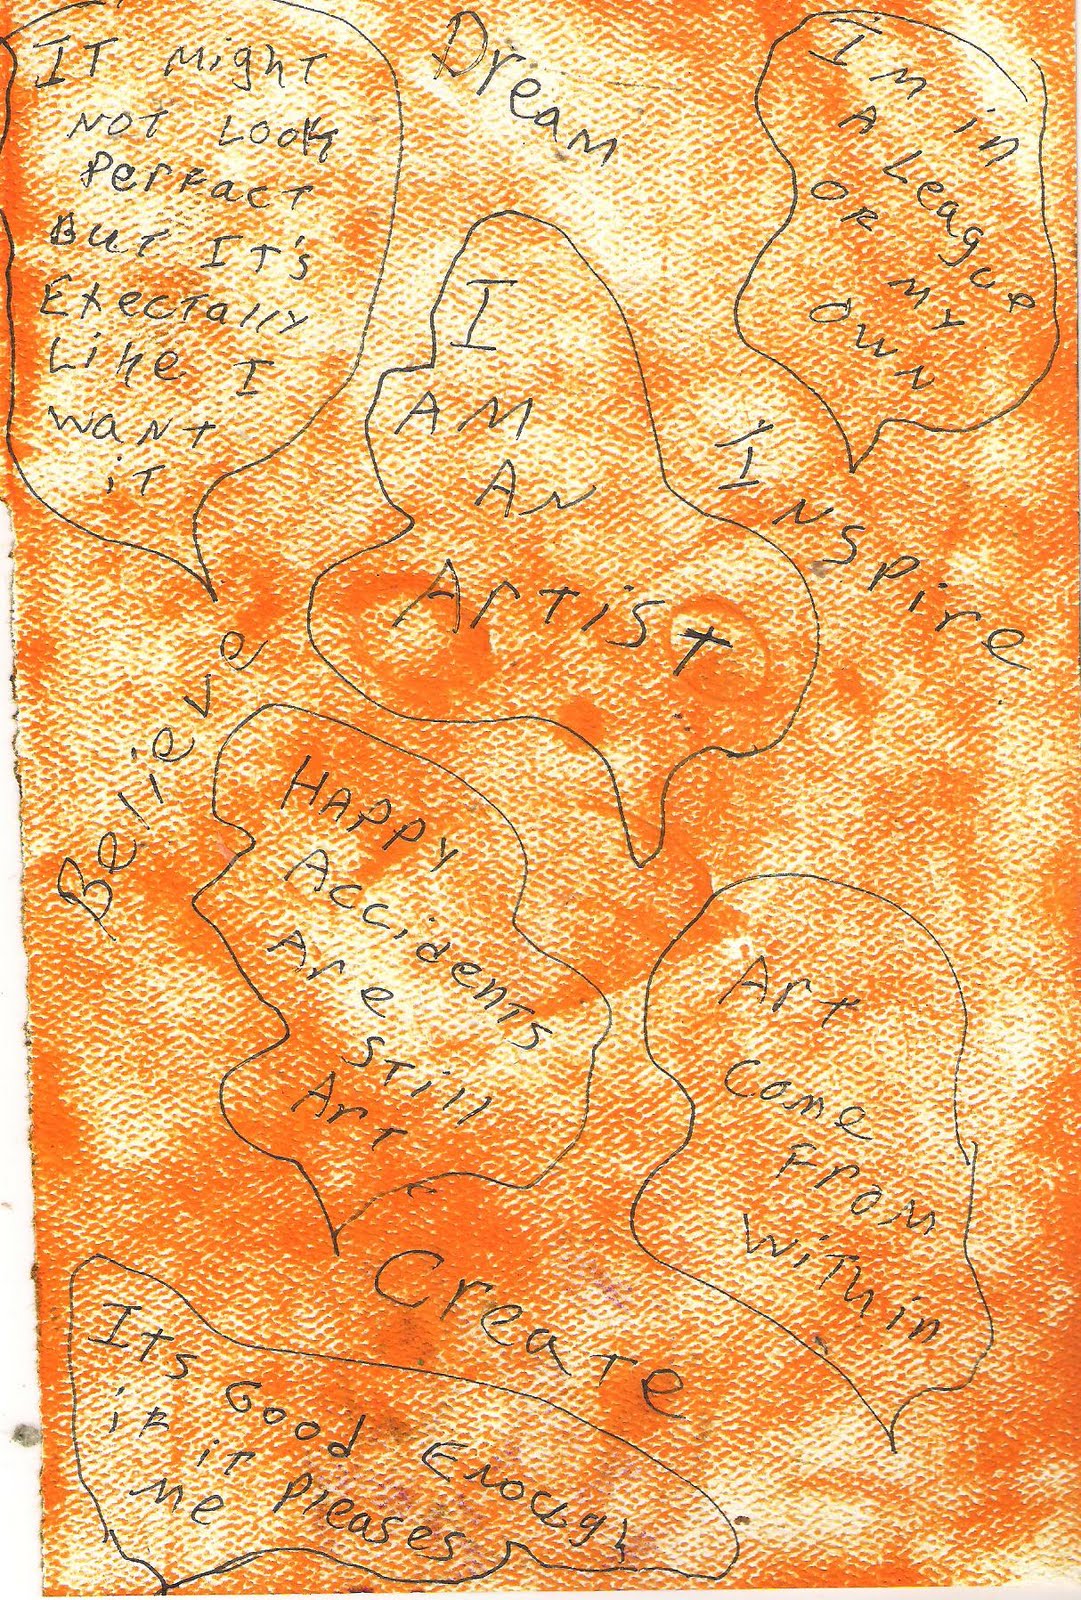


the best me
found poetry this was fun and i love the way it came out


Tuesday, July 05, 2011


Tuesday, June 28, 2011
my celling in my art room
since several of you asked here are the pictures of my celling i have the beams filled up and have been slowing adding things to the celling itself I hope to one day have it mostly covered The beams were added a couple of years ago when we had a really bad ice storm and the weight of the ice collapsed the trusses and since there was no way to repair the room (to dangerous to climb up there and no one could get out to do it anyways) we did the next best thing built to supporting beams in the room they go all the way across and have supports from celling to floor DH painted them for me and we started putting my art back up first he started filling up the beams which give me even more space for my art on the celling itself
i have been adding to it whenever i get the chance I am planning to run several strands of ribbon from floor to celling and use mini clips and clothpins to hold atcs havn't decided just where i want to put them yet


i have been adding to it whenever i get the chance I am planning to run several strands of ribbon from floor to celling and use mini clips and clothpins to hold atcs havn't decided just where i want to put them yet


a purse made from an old book
i made this for a swap im in starting to slowly get caught up with everything
this is a purse that i made from a hardback book i stated with this tutorial
http://www.my-perfect-designer-handbag.com/book-purse.html#bookpursevideo
then i added my own twist to it and made it mine I was afraid that glue alone would not be strong enough so i used brads to give it added support im pretty happy with it I hope my partner likes it now i just have to stuff it with crafty goodness and find a box it will fit in. and i can add it to the growing pile of packages that will be going out Friday .
I used some of the pages from the book to embellish the front and back since the cover didn't really have much on it i added a part of the page with a listing of his books and also added a page that had the tittle and author on it
i choose musical notes fabric for the lining not sure if it really goes with the title or not but i kind of like it
i thought it needed a bit of color so for the handles i used some red braided cord that i had


DH and Kitty taking a nap
I just don't think you can get much more comfortable than that DH and his cat Christmas name so because we found her on the side of the road Christmas Eve a few years ago she was soak and wet and it was starting to sleet I think she was a good save when we found her she was just a kitten and i had to chase her down a steep hill, she tried to hid under a rock quit the adventure but she was worth it


Saturday, June 25, 2011
paper flowers
i played with making paper flowers tonight
these are made by starting with a piece of light scrapbook paper mine was white on one side so i wadded it up then rubbed some ink over the white side to add a bit of color
now wad it up several times making it soft and pliable then either cut or tear it into a rough circle then continue tearing in a circle remember the paper snakes or spirals you use to make as a kid same thing


 now start from the middle and loosely roll it into a flower shape smash and shape it till your happy with it
i also added some torn paper leaves
these are made by starting with a piece of light scrapbook paper mine was white on one side so i wadded it up then rubbed some ink over the white side to add a bit of color
now wad it up several times making it soft and pliable then either cut or tear it into a rough circle then continue tearing in a circle remember the paper snakes or spirals you use to make as a kid same thing


 now start from the middle and loosely roll it into a flower shape smash and shape it till your happy with it
 i also added some torn paper leaves
book using accordian fold


butterfly shadowbox
I made a shadowbox today using the tutorial that you can find here
http://iritshalom.blogspot.com/2011/02/book-shaped-shadow-box-tutorial.html
I had fun making this and like the way it came out
its hard to see in the picture but the butterfly inside is metal and i give him a string body with feelers
i took a piece of clear plastic and stamped the image and words on it and put it on just before i put the outside frame pieces on
I used my score board and made them 1 inch wide i scored 1, 3, 5, 7, and ,11 inches then flipped it over and scored at 2, 4, 6, 8,and 10 inches making it easy to make the folds
its probably about an inch deep when its all put together and you can make these any size just by change the length and width of your strips


Wednesday, June 22, 2011
image transfers
i played with image transfers this evening
i used an ink jet printer and lemon scented pinesol
you can also use a laser printer but instead of lemon scented pinesol just use water
here is the link to a wonderful tutorial on how to do the transfers
http://inkstainswithroni.blogspot.com/2011/06/inkssentials-foil-tape-image-transfer.html
the only thing i did different was to use the pinesol and my ink jet printer
for these first ones i used foil tape put the image face down on the tape then using a paint brush i brushed on lemon scented pine sol then i started to gently rub the paper off this is what they look like


these last two were done the same way except i used clear packing tape i love how these came out


Subscribe to:
Posts (Atom)